469-991-3132
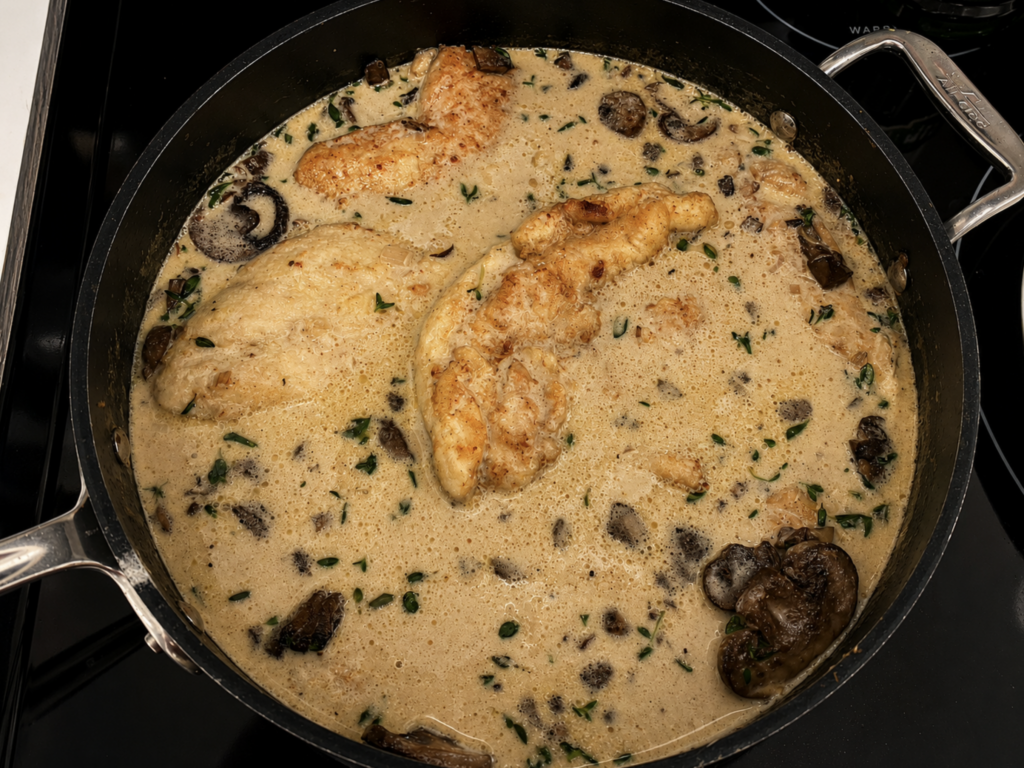
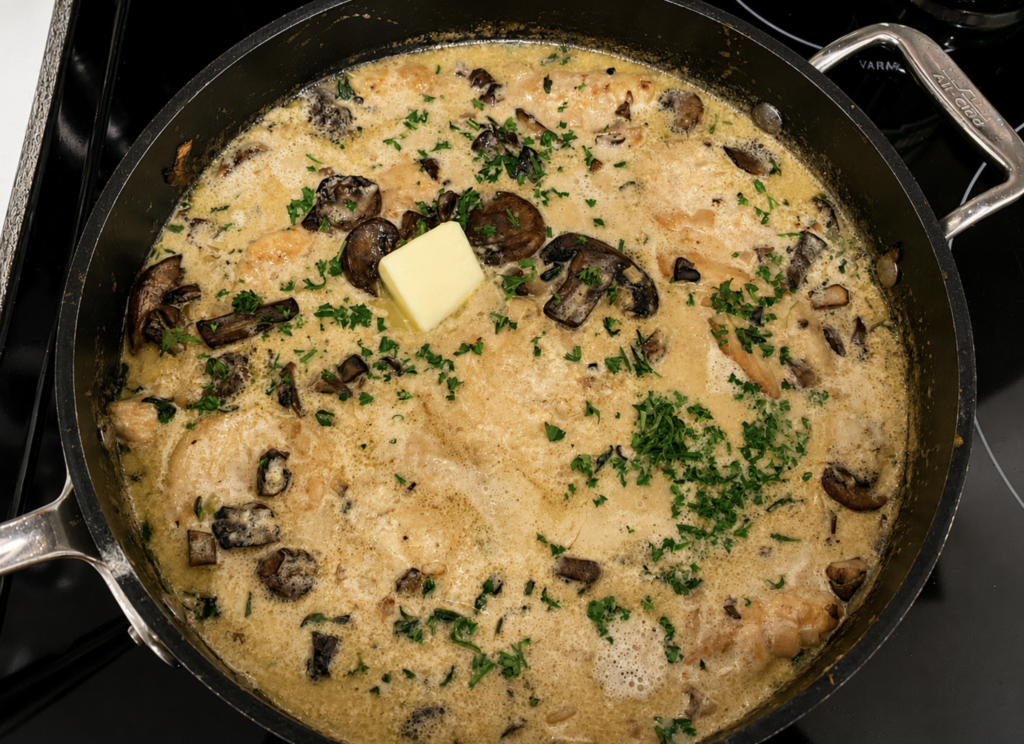
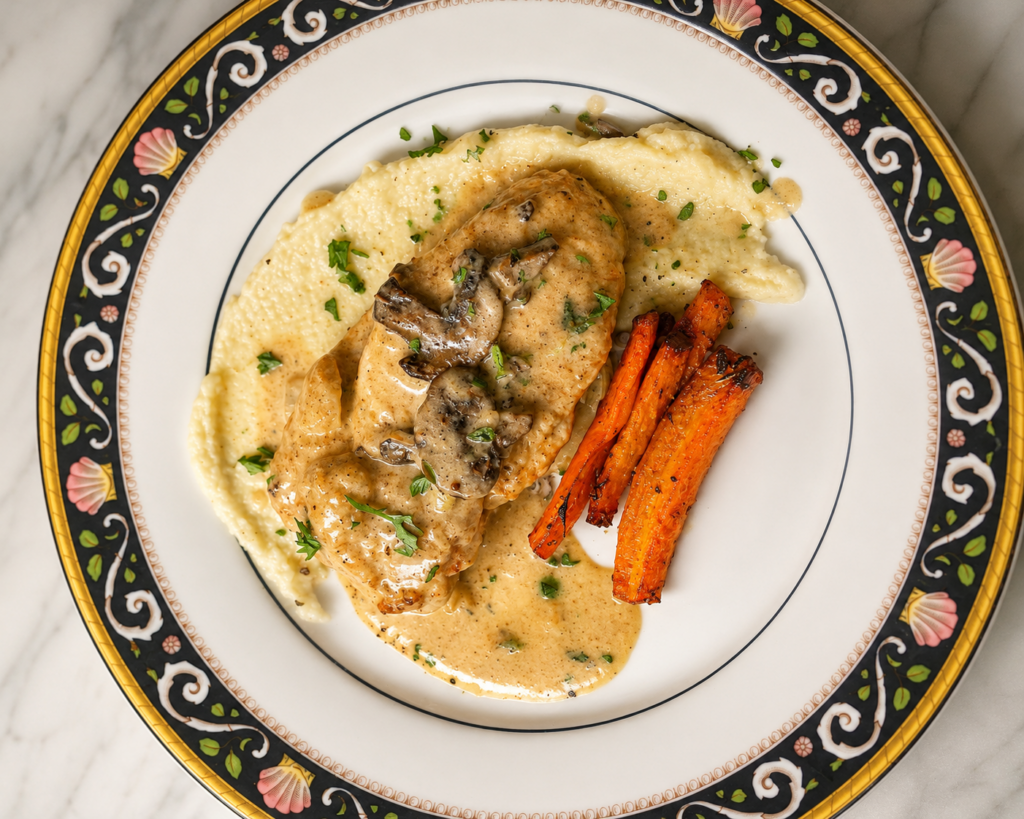
Chicken in Woodland Cream, or Poulet Crème des Bois if You’re Feeling Fancy

Chicken in Woodland Cream, or Poulet Crème des Bois if You’re Feeling Fancy

Ingredients

For the Chicken

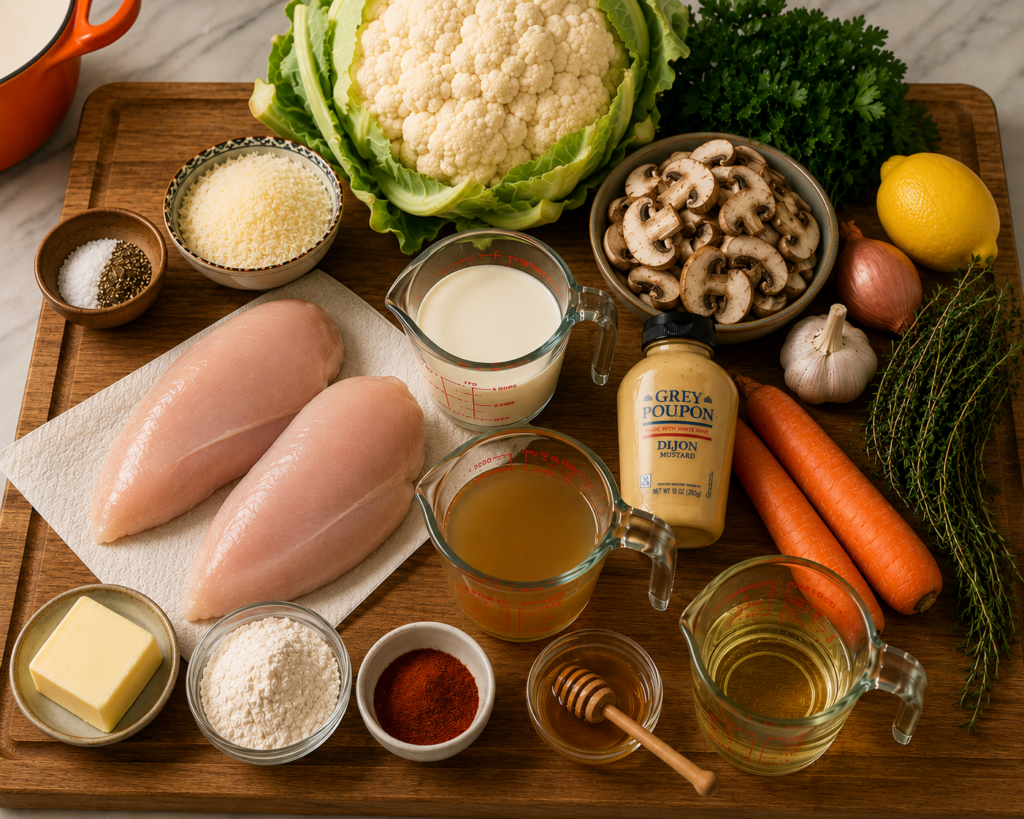
• 2 large boneless skinless chicken breasts
• Salt and freshly cracked black pepper
• 1 teaspoon smoked paprika
• 1 teaspoon garlic powder
• 1 cup all-purpose flour
• 2 tablespoons olive oil
• 3 tablespoons unsalted butter

For the Mushroom Thyme Cream Sauce

• 8 ounces cremini mushrooms, sliced
• 1 large shallot, finely diced
• 2 garlic cloves, minced
• 1/2 cup dry white wine
• 1 1/2 cups chicken stock
• 3/4 cup heavy cream
• 1 teaspoon Dijon mustard
• 4 to 5 sprigs fresh thyme
• 1 very small sprig rosemary
• 1 tablespoon chopped parsley, plus more for garnish
• Tiny squeeze of fresh lemon juice
• 1 tablespoon cold butter
• Salt and black pepper to taste

For the Cauliflower Purée

• 1 large head cauliflower, cut into florets
• 2 tablespoons butter
• 1/4 cup heavy cream
• 1/4 cup freshly grated Parmesan
• Salt
• White pepper

For the Roasted Carrots

• 1 bunch small heirloom or baby carrots
• 1 tablespoon butter
• Small drizzle of honey
• Fresh thyme
• Flaky sea salt
• Black pepper

Instructions

Prepare the Chicken

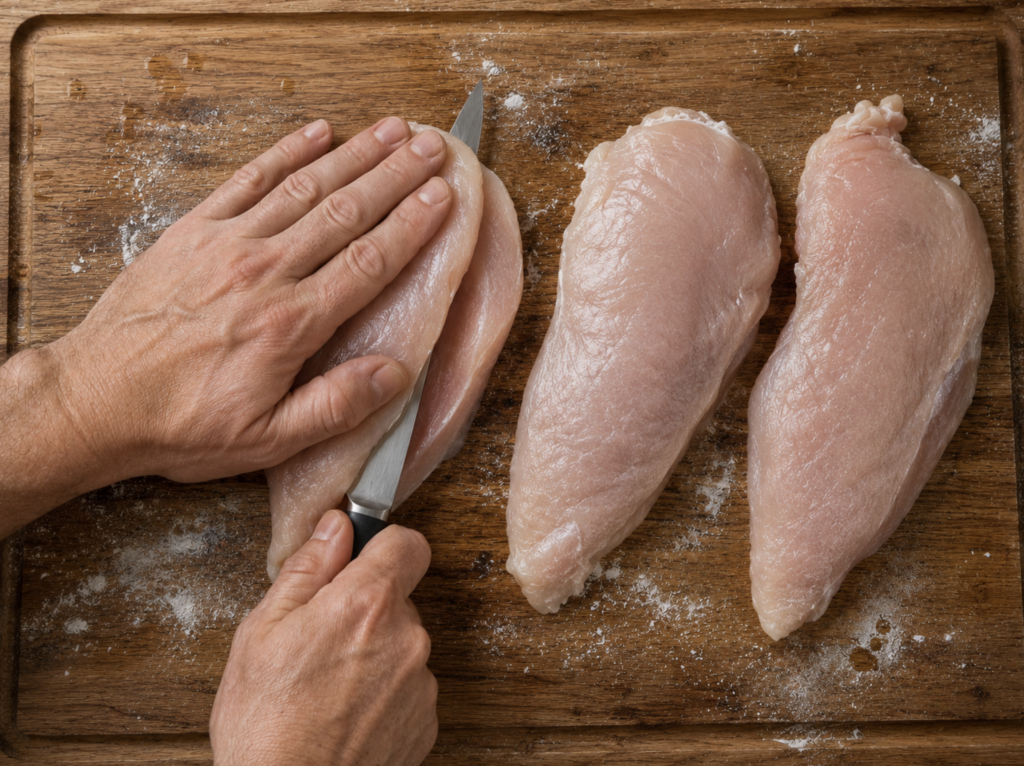
Slice each chicken breast horizontally into two thinner filets.

Place between plastic wrap and gently pound until evenly thin, about 1/2 inch thick.

Season both sides with salt, pepper, smoked paprika, and garlic powder.

Lightly dredge each filet in flour, shaking off excess. Let rest for 10 minutes.

Dredge once more lightly in flour. This second coating creates that delicate crisp exterior while keeping the chicken tender and velvety beneath the sauce.

Roast the Cauliflower

Preheat oven to 425 degrees.

Spread cauliflower florets on a sheet pan. Drizzle lightly with olive oil and season with salt.

Roast until lightly golden and tender, about 25 to 30 minutes.

Transfer roasted cauliflower to a blender or food processor with butter, cream, Parmesan, salt, and white pepper.

Blend until completely silky and smooth. Add a splash of cream if needed.

Keep warm.

Roast the Carrots

Toss carrots with melted butter, tiny drizzle of honey, salt, pepper, and a few thyme leaves.

Roast at 425 degrees until tender and lightly caramelized, about 20 minutes.

Finish with flaky sea salt.

Sear the Chicken

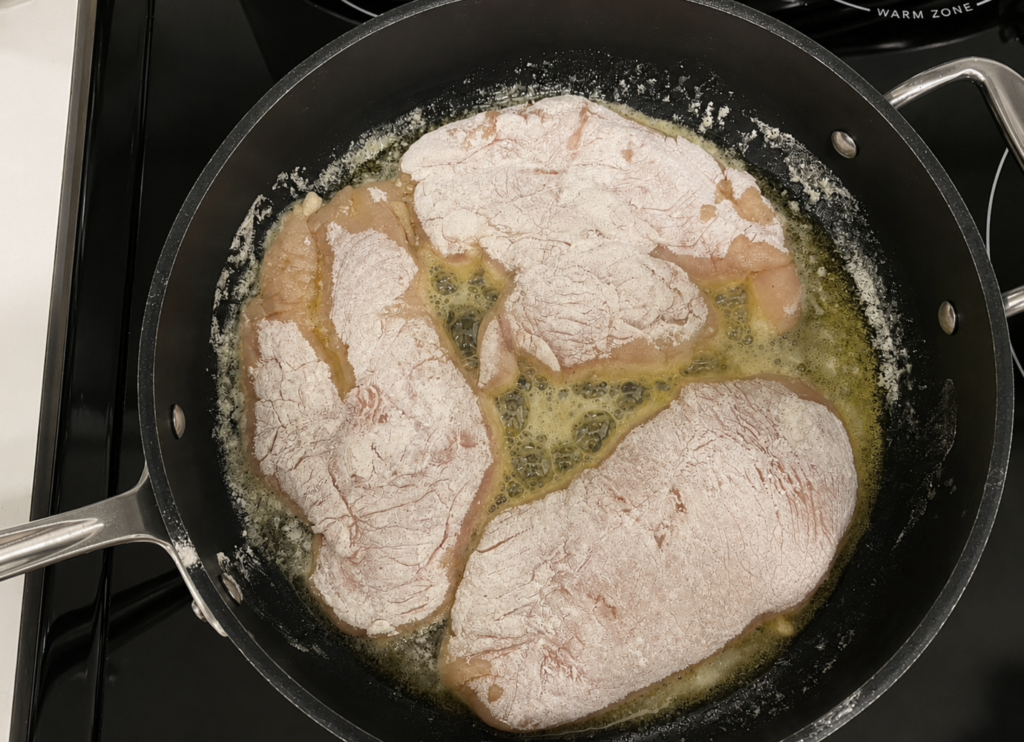
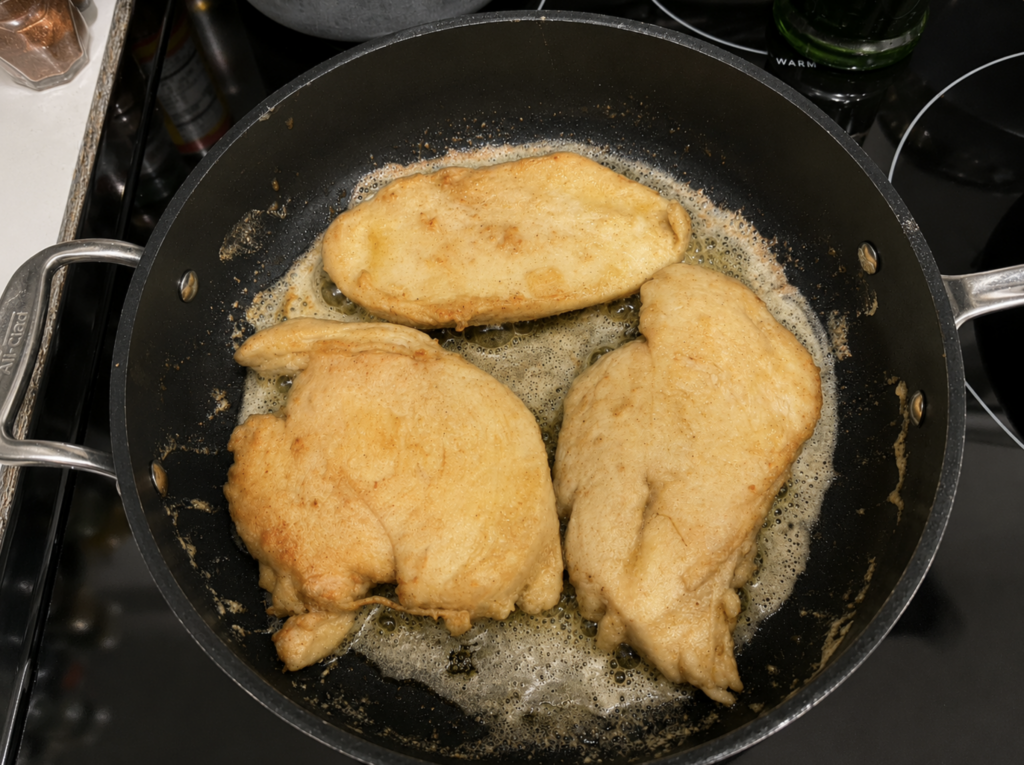
Heat olive oil and butter in a large skillet over medium-high heat.

Once hot and shimmering, add chicken without overcrowding the pan.

Cook about 3 to 4 minutes per side until deeply golden brown.

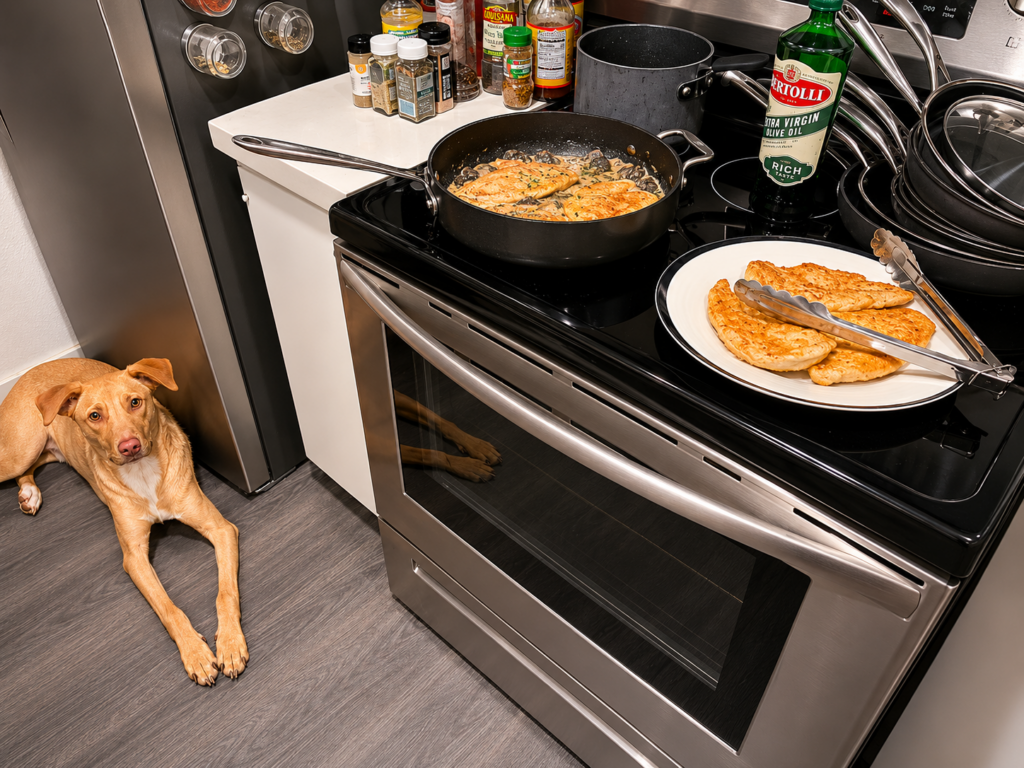
Transfer chicken to a plate. It does not need to be fully cooked through yet.

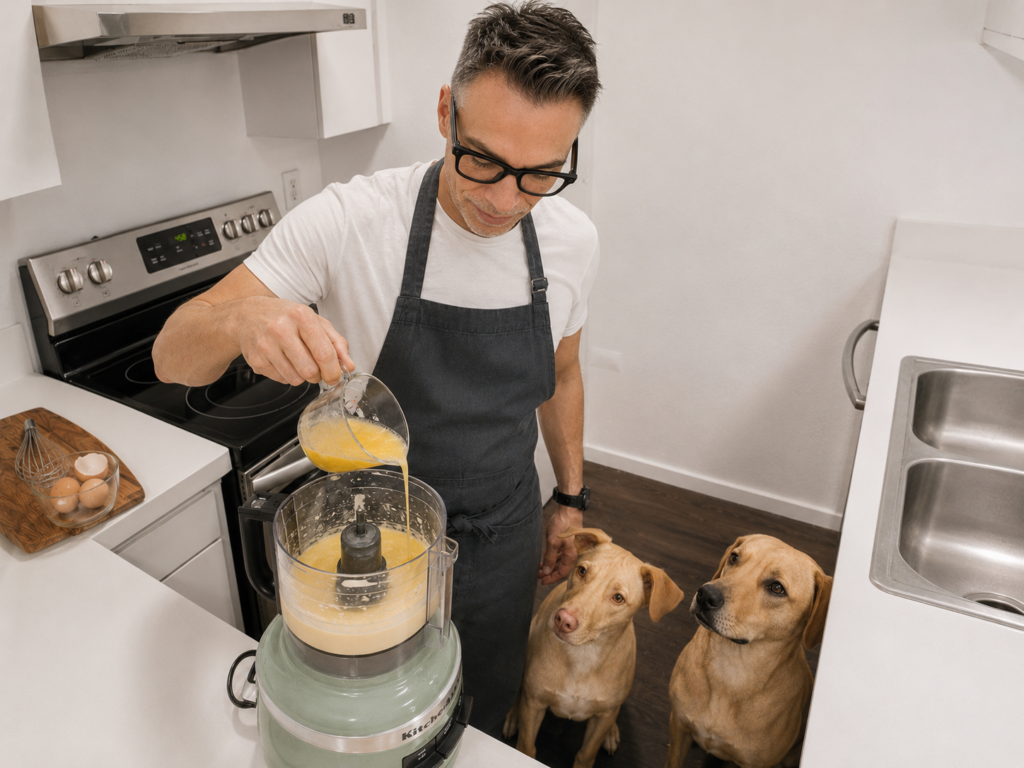
My sous-chef contributed very little to the actual cooking, but he is extremely handsome and excellent company.

Build the Sauce

Lower heat slightly.

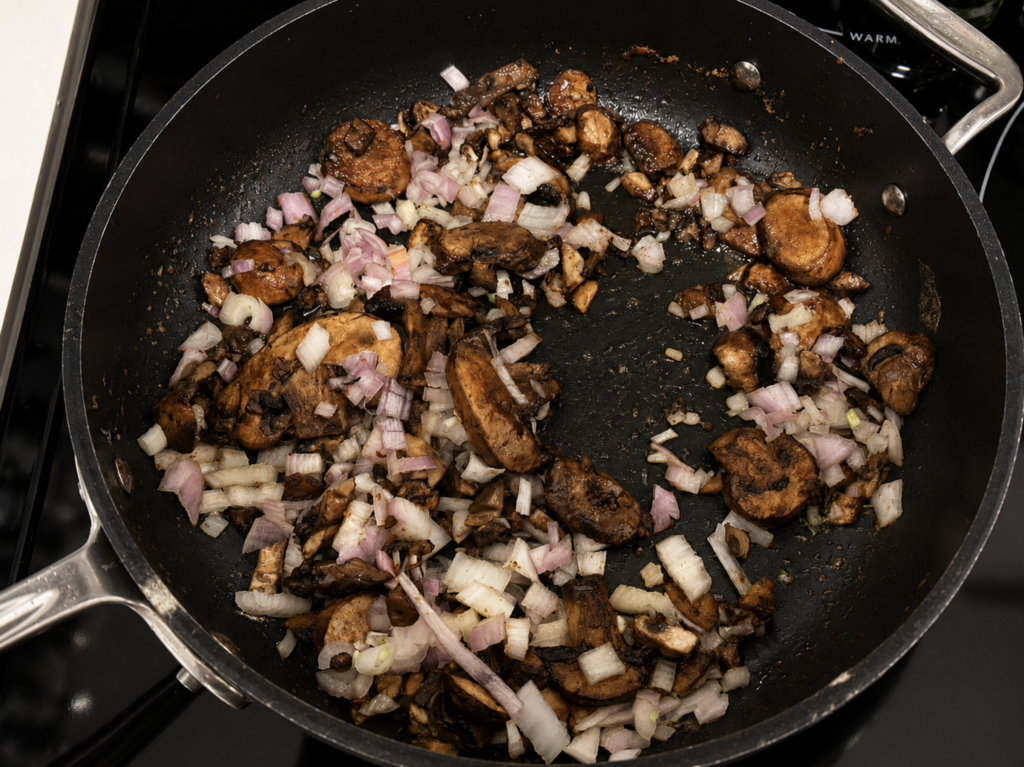
Add mushrooms to the same pan and let them brown properly before stirring too much. You want real color and depth.

Add shallots and cook until softened, about 2 minutes.

Add garlic and cook for 30 seconds.

Deglaze with white wine, scraping up every browned bit from the pan.

Reduce wine by about half.

Stir in Dijon mustard.

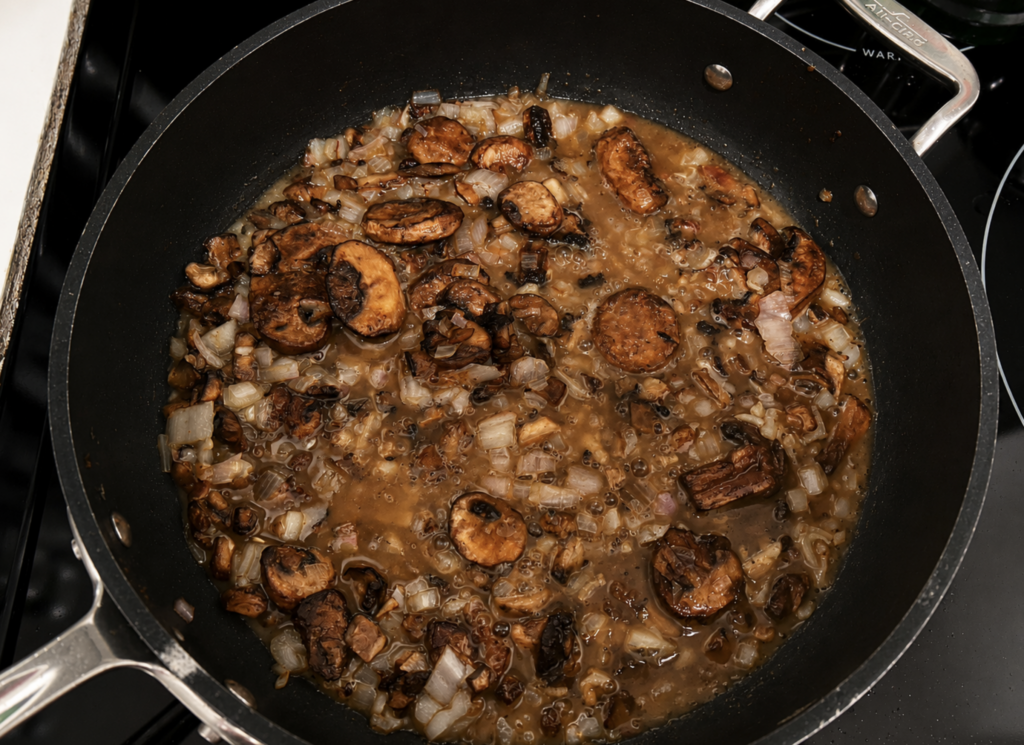
Add chicken stock, thyme sprigs, and the tiny rosemary sprig.

Simmer gently for about 5 minutes.

Reduce heat to low and stir in heavy cream.

Return chicken to the pan along with any juices.

Simmer gently for 5 to 7 minutes until the chicken is cooked through and tender.

Remove herb stems.

Finish with chopped parsley, tiny squeeze of lemon juice, and the cold butter. Swirl gently until glossy and velvety.

Taste and adjust seasoning.

To Plate

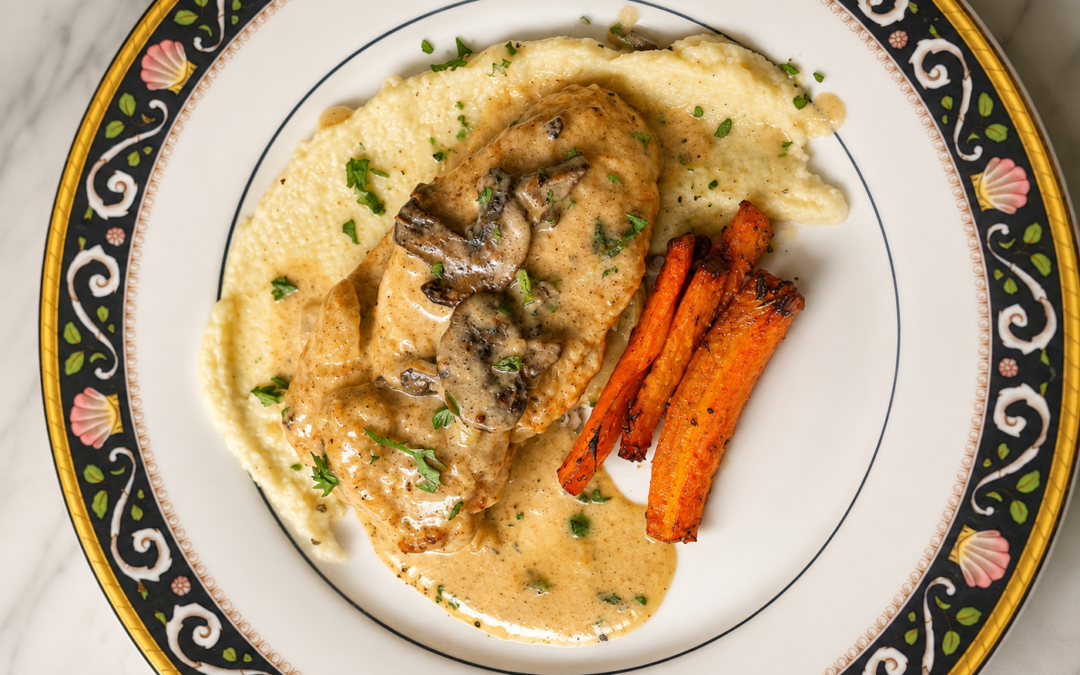
Spoon a soft swoosh of cauliflower purée onto the plate.

Place one modest chicken filet slightly off-center, optionally sliced on a bias into thick slices.

Lightly spoon mushroom thyme cream sauce over the chicken, allowing some golden crust to remain visible.

Place exactly 3 roasted carrots thoughtfully to the side.

Finish with tiny thyme leaves, micro parsley, cracked black pepper, and a final touch of flaky salt.

Serve immediately.

And yes, this is absolutely the kind of Sunday recipe people save, forward, and secretly wish they’d been invited over to eat.

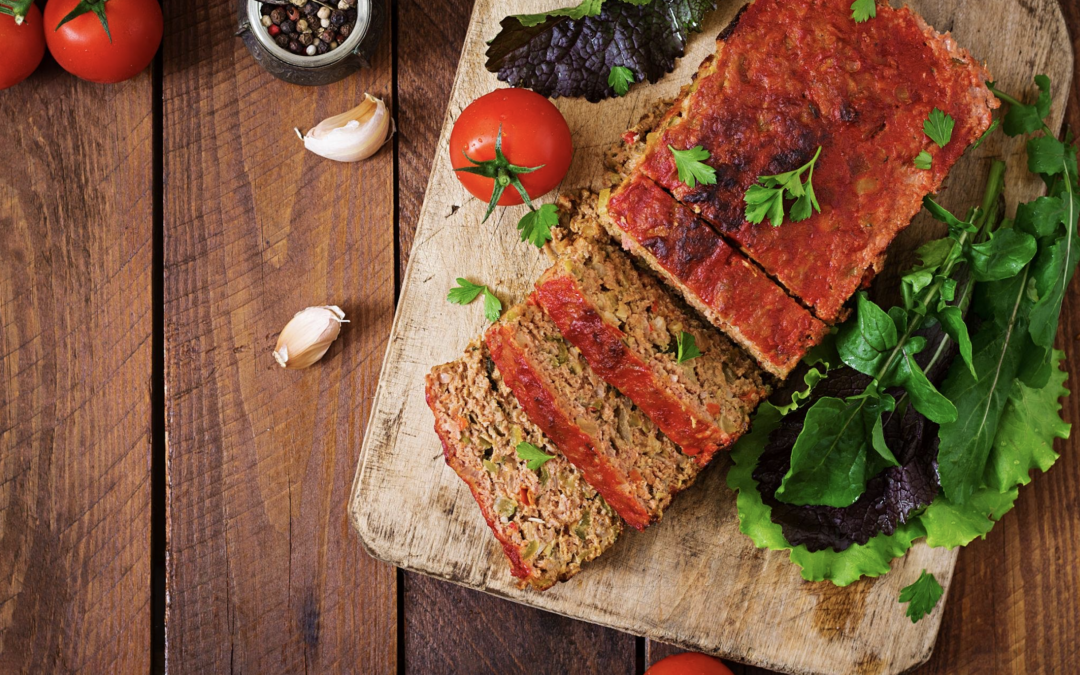
Kevin’s Beef Sausage and Lamb Meatloaf

Kevin’s Beef Sausage and Lamb Meatloaf

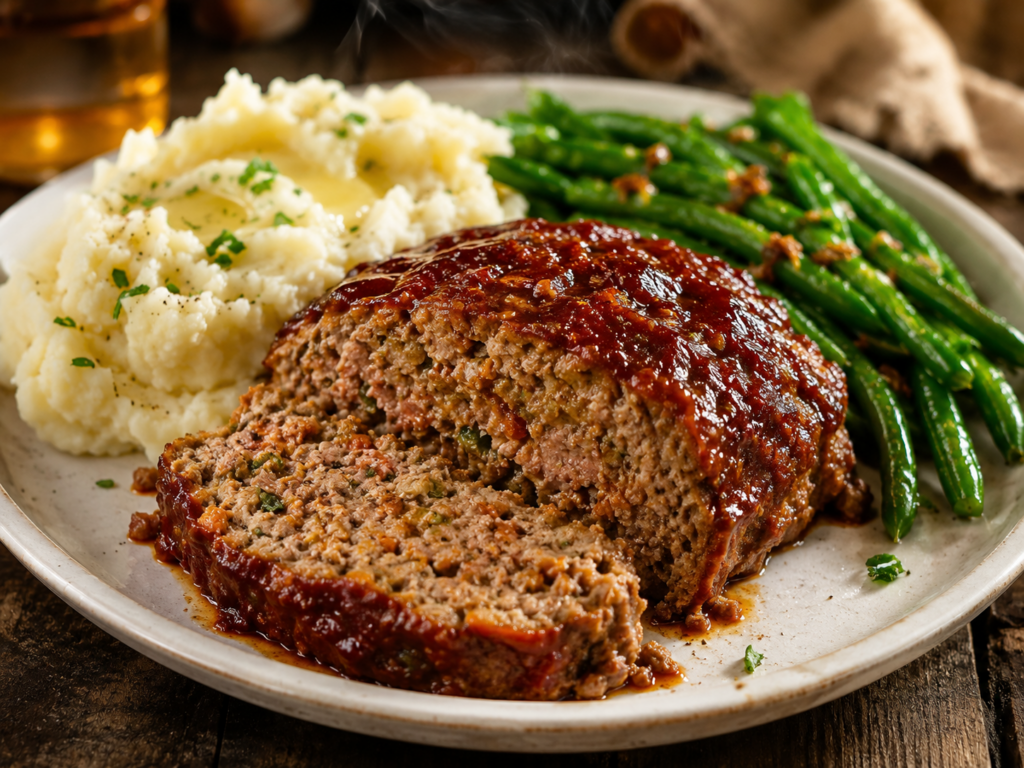
A deeply savory three-meat meatloaf glazed with the most dangerously good ketchup, brown sugar, and mustard lacquer known to mankind.


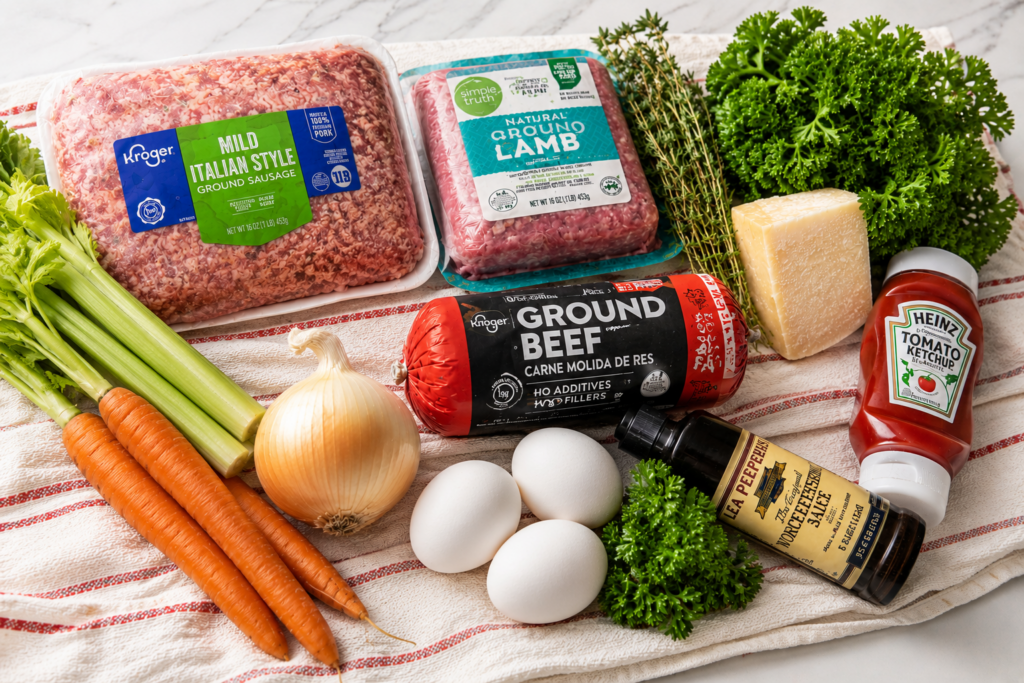
🛒 INGREDIENTS

For the Meatloaf

Meat

  • 1 lb ground beef, preferably 80/20
  • 1 lb ground lamb
  • 1 lb mild Italian sausage

Vegetables / Aromatics

  • 1 medium yellow onion
  • 4 carrots
  • 4 celery stalks
  • 4 garlic cloves

Panade

  • 2 to 2¼ cups plain breadcrumbs
  • 1¼ cups whole milk
  • 3 large eggs

Flavor Builders

  • 2 tbsp Worcestershire sauce
  • 1 tbsp Dijon mustard
  • 2 tsp fresh thyme leaves
  • 2 tbsp chopped parsley
  • ½ cup grated Parmesan cheese
  • 2 tsp kosher salt
  • 1 tsp black pepper

Optional Tenderizing Trick

  • ¼ tsp baking soda
  • 1 tbsp water

Fat

  • 3 tbsp olive oil

For the Glaze

  • ¾ cup ketchup
  • 2 tbsp brown sugar
  • 1½ tbsp Dijon mustard
  • 1 tsp Worcestershire sauce
  • Black pepper

👨‍🍳 STEP-BY-STEP INSTRUCTIONS

Step 1 — Vegetable base

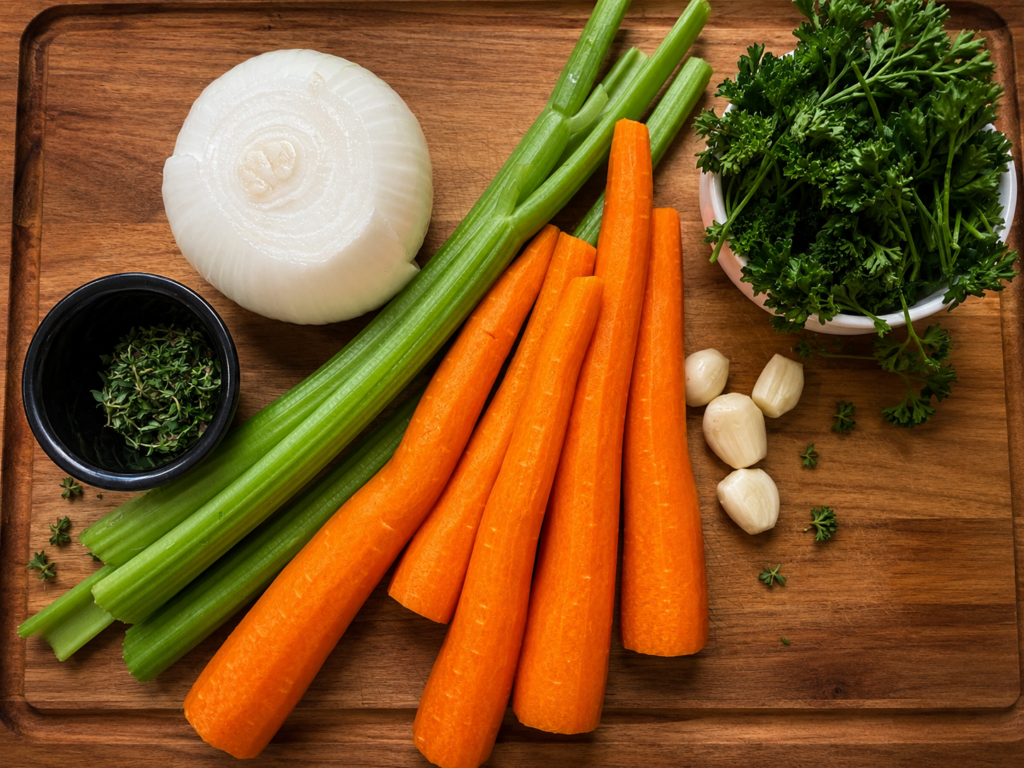
Roughly chop the onion, carrots, celery, and garlic.

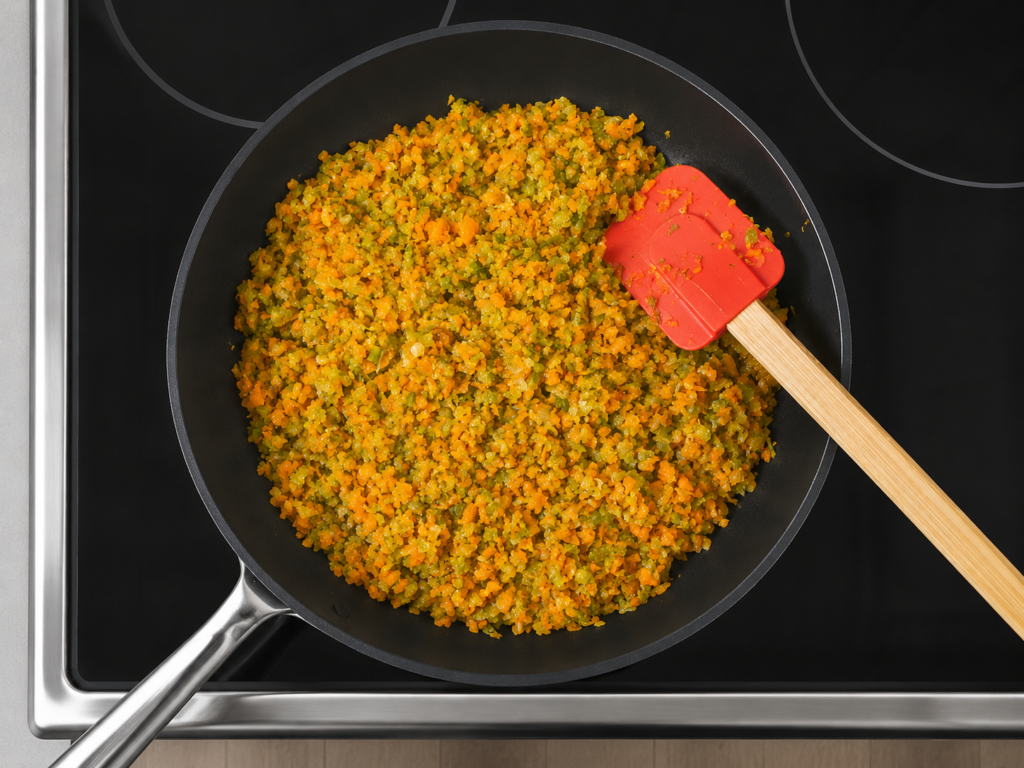
Pulse in a food processor until finely minced, but not pureed.

Heat olive oil in a large skillet over medium heat and cook the vegetables slowly for 15 to 20 minutes until softened, lightly caramelized, and most moisture has cooked away.

You want the mixture rich and concentrated, not watery.

Set aside to cool slightly.


Step 2 — Optional baking soda trick

If using the baking soda method:

Mix:

  • ¼ tsp baking soda
  • 1 tbsp water

Drizzle lightly over the three meats and gently toss together with your fingertips.

Let sit 10 to 15 minutes before continuing.

This helps the proteins stay tender and retain moisture during baking.


Step 3 — Build the panade

In a very large bowl combine:

  • breadcrumbs
  • milk
  • eggs
  • Worcestershire sauce
  • Dijon mustard

Let sit for 5 minutes so the breadcrumbs fully hydrate.

Then add:

  • cooled vegetable mixture
  • thyme
  • parsley
  • Parmesan
  • salt
  • black pepper

Mix thoroughly.


Step 4 — Combine the meats and other ingredients 

Add:

  • beef
  • lamb
  • sausage
  • veggie, bread and milk mixture

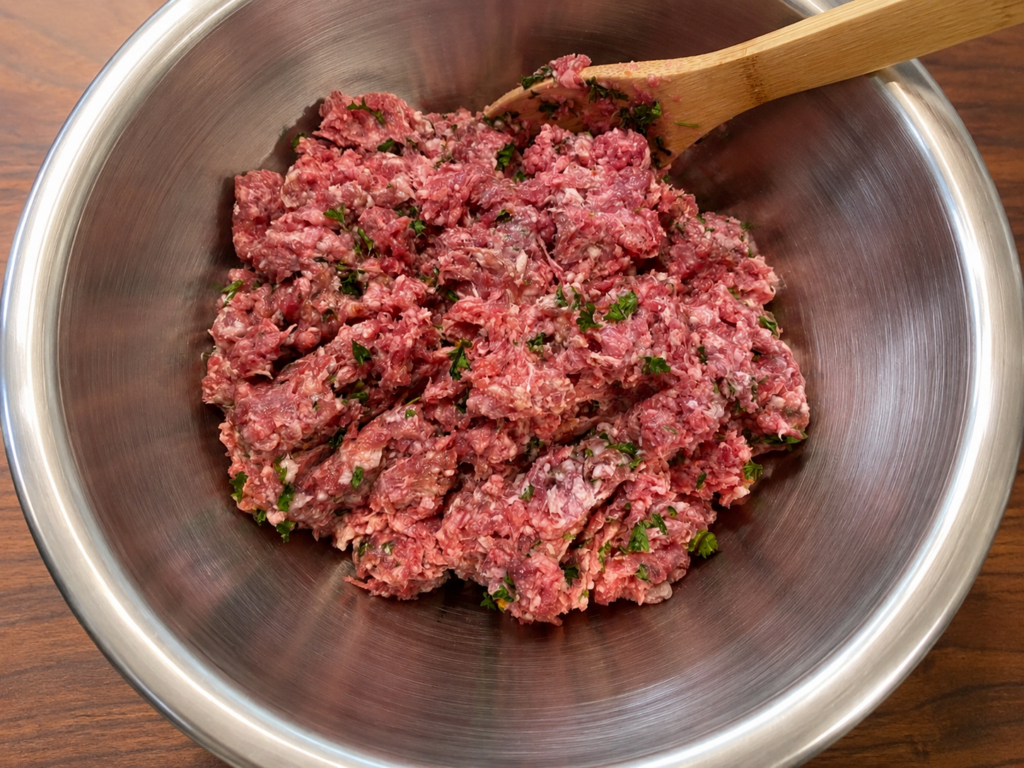
Using your hands, or a wooden spoon, gently fold everything together until evenly combined.

Do not aggressively knead or compress the mixture.

The finished mixture should feel soft, moist, and slightly loose.

That is exactly what you want.


Step 5 — Shape the loaf

Preheat oven to 350°F.

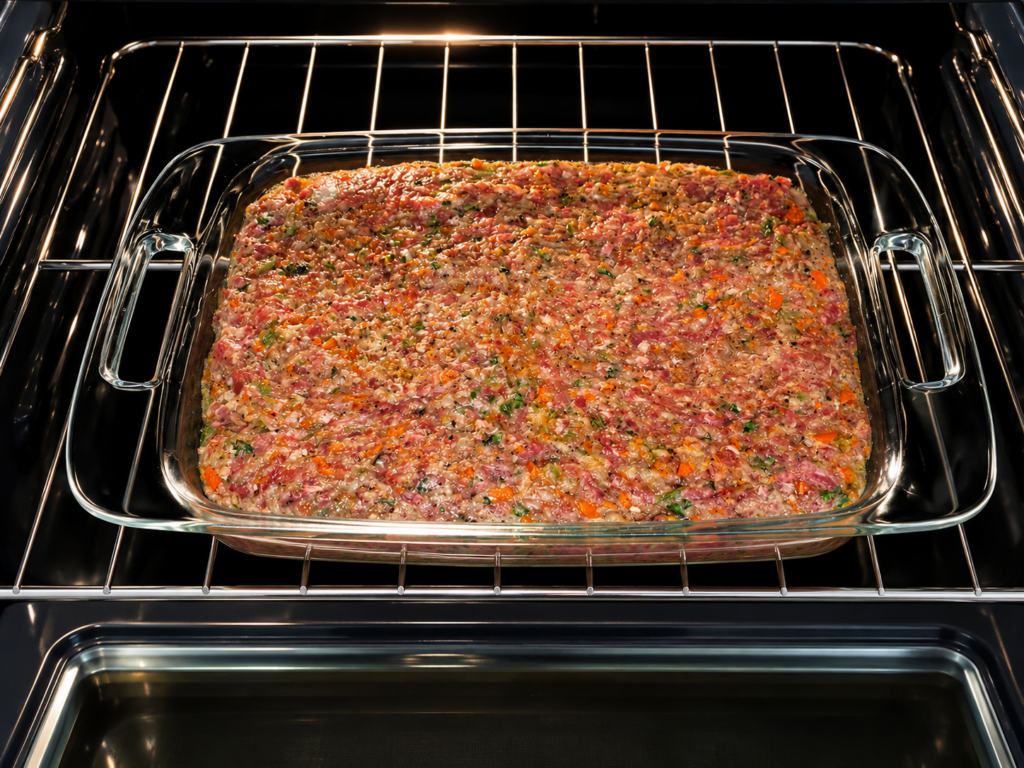
Shape the mixture into one large loaf on a parchment-lined sheet pan or 9 by 11 dish.

Bake for 45 minutes.


Step 6 — The glaze

While the meatloaf bakes, whisk together:

  • ketchup
  • brown sugar
  • Dijon mustard
  • Worcestershire
  • black pepper

After 45 minutes, generously brush the glaze over the meatloaf.

Return to the oven for another 20 to 30 minutes until beautifully caramelized and the internal temperature reaches 160°F.

For extra lacquered goodness, broil for 2 to 3 minutes at the end.

Step 7 — Rest before slicing

Let the meatloaf rest at least 15 minutes before slicing.

This step matters enormously.

It allows the juices to redistribute and keeps the slices beautifully intact.


Final Thoughts

This is not dry cafeteria meatloaf.

This is rich, deeply savory, absurdly comforting meatloaf with real texture, real depth, and a glaze so good it should probably require supervision.

And the next-day sandwich?

Possibly even better than dinner itself.

Easy and Fast Lasagna – That is NOT EASY and TAKES TWO DAYS

Easy and Fast Lasagna – That is NOT EASY and TAKES TWO DAYS

The “quick and easy” lasagna that absolutely is not quick or easy anymore

Somewhere along the way, this innocent little “one-pot lasagna” turned into a full weekend event involving wine, slow-cooked ragù, two emotionally invested dogs, and the kind of kitchen aromas that make you stop mid-sentence and just stand there staring at the stove.

And honestly?
I regret nothing.

Most one-pan lasagna recipes skip straight to convenience. Brown meat, dump in jarred sauce, stir everything together, cover it with cheese, and call it a day. There’s nothing wrong with that… but I wanted something deeper. Richer. More luxurious. I wanted the kind of meat sauce that tastes like somebody’s Italian grandmother spent all day guarding the stove while muttering family secrets under her breath.

So instead of rushing, I built a true ragù the day before.

And that overnight rest? That’s where the magic happened.

The next morning the sauce had transformed completely. The wine had mellowed, the meat relaxed into the tomatoes, the texture became velvety and rich, and suddenly this was no longer “easy weeknight lasagna.” This had become a full-blown affair.

Meanwhile, Otto and Giorgio remained fully convinced the entire operation was a giant pot of gourmet dog food being lovingly prepared in their honor.


🛒 INGREDIENTS

For the Ragù

Meat

  • 1 lb 80/20 ground beef
  • 1 lb Italian sausage, mostly sweet with a little hot if desired

Vegetables / Soffritto

  • 1 large yellow onion, finely diced
  • 2 carrots, finely diced
  • 2 celery stalks, finely diced
  • 6 garlic cloves, minced

Tomato Base

  • 1 (28 oz) can crushed San Marzano tomatoes
  • 1 small can tomato paste

Flavor Builders

  • 1 to 1½ cups dry red wine
  • 1 parmesan rind
  • 1 bay leaf
  • 1 tsp fennel seed
  • 1 tsp dried oregano
  • Pinch red pepper flakes
  • Tiny pinch nutmeg
  • 1 tsp Worcestershire sauce
  • 1 tsp fish sauce (optional but excellent)
  • Salt and black pepper

Fat

  • 2 tbsp olive oil
  • 2 tbsp butter

For the Lasagna Assembly

  • 1 package lasagna sheets
  • 15 oz whole milk ricotta
  • 1 egg
  • 1 cup shredded mozzarella
  • 1 large ball fresh mozzarella
  • ½ cup grated parmesan
  • Fresh basil
  • Black pepper
  • Tiny pinch nutmeg

🍷 DAY ONE — THE RAGÙ

Step 1 — Build the soffritto

In a heavy Dutch oven or large pot, heat the olive oil and butter over medium-low heat.

Add the onion, carrots, and celery with a small pinch of salt.

Cook slowly for 30 to 40 minutes, stirring occasionally, until soft, sweet, fragrant, and lightly golden. Don’t rush this part. This is foundational flavor.

Step 2 — Garlic and aromatics

Add:

  • garlic
  • fennel seed
  • oregano
  • black pepper
  • red pepper flakes
  • nutmeg

Cook about 1 minute until fragrant.

Step 3 — Tomato paste

Add the tomato paste and cook for 3 to 5 minutes, stirring constantly until slightly darkened and caramelized.

Step 4 — Brown the meat

Add the beef and sausage.

Season lightly with salt and pepper and cook slowly until deeply browned with rich caramelized bits forming on the bottom of the pot.

Step 5 — Wine

Pour in the red wine and scrape the bottom of the pot thoroughly.

Reduce until most of the liquid is gone and your kitchen smells like an old-school Italian restaurant hidden somewhere behind a velvet curtain in 1978.

Step 6 — Tomatoes and slow simmer

Add:

  • crushed tomatoes
  • parmesan rind
  • bay leaf
  • Worcestershire
  • fish sauce

Bring to a very gentle simmer.

Partially cover and cook low and slow for 3 to 5 hours, stirring occasionally.

If needed, add a splash of water during cooking.

Taste and adjust seasoning near the end.

Then cool completely and refrigerate overnight.


🍝 DAY TWO — THE LASAGNA

The next day, gently reheat the ragù until loosened and workable.

Step 1 — Ricotta mixture

In a bowl combine:

  • ricotta
  • egg
  • shredded mozzarella
  • parmesan
  • black pepper
  • tiny pinch nutmeg

Mix until smooth.


Step 2 — Build the layers

In a Dutch oven, deep skillet, or casserole dish:

Layer 1

Thin layer of ragù

Layer 2

Lasagna sheets

Layer 3

Ricotta mixture

Layer 4

Fresh mozzarella pieces

Repeat layers until complete.

Finish with:

  • ragù
  • mozzarella
  • parmesan
  • cracked pepper

Step 3 — Bake

Bake covered at 375°F for 35 minutes.

Uncover and continue baking 15 to 20 minutes until bubbling and beautifully browned.

Optional:
Broil 1 to 2 minutes for extra golden edges.

Step 4 — REST

This matters.

Let the lasagna rest 20 to 30 minutes before serving.

The structure settles, the layers tighten, and everything transforms into the luxurious texture you were hoping for.


Final Thoughts

This started as a lazy one-pan lasagna and somehow became a weekend culinary event involving simmering wine, deeply developed ragù, parmesan rinds, and two highly suspicious kitchen supervisors named Otto and Giorgio.

And honestly?

It may be the best decision I’ve made all week.

The Chicken & Potato Casserole that West Texas Made Famous at Funerals

The Chicken & Potato Casserole that West Texas Made Famous at Funerals

There are recipes you make once, and then there are the ones that quietly become part of your life. This is the second kind. I made this on a relaxed Sunday afternoon at home with me and the boys (my dogs Giorgio and Otto) and somewhere between the first bite and the second, I realized this one isn’t going anywhere. It’s a classic funeral casserole, the kind my grandmother made time and time again during the 60-plus years she lived in Anton, Texas.

It’s rich, it’s comforting, and it walks that perfect line between effortless and impressive. Rotisserie chicken, creamy base, sharp cheddar, and a buttery Ritz topping that finishes everything off with just enough crunch.

No complicated steps. No unnecessary ingredients. Just a dish that delivers every single time.

And yes, it reheats, and freezes like a dream, which matters more than people admit.

Recipe (clean, easy to follow):

Ingredients:

  • 3 cups shredded rotisserie chicken
  • 1 (30 oz) bag frozen shredded hash browns, thawed
  • 2 cups sour cream
  • 2 cans cream of chicken soup
  • 2 cups sharp cheddar cheese, shredded
  • 1/2 cup green onions, sliced
  • 1/2 teaspoon salt
  • 1/2 teaspoon black pepper
  • Optional, 1 teaspoon fresh thyme

Topping:

  • 1 sleeve Ritz crackers, crushed
  • 4 tablespoons butter, melted

Directions:
Preheat oven to 350.

In a large bowl, combine everything except the topping and mix until evenly incorporated. Transfer to a greased baking dish.

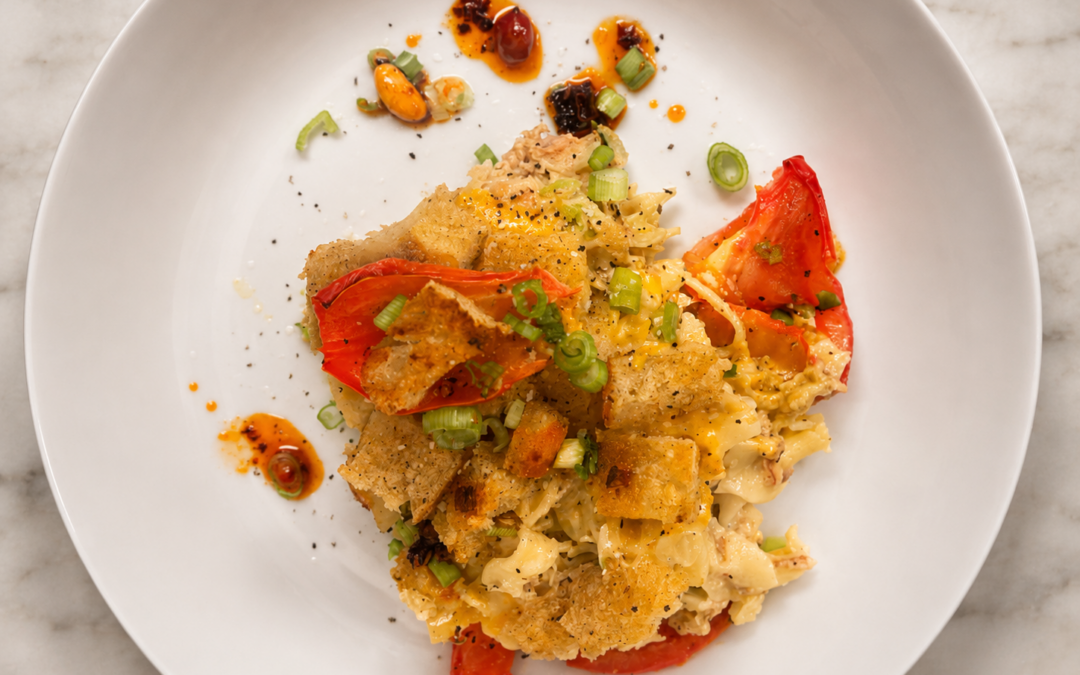
Mix the crushed Ritz crackers with melted butter and spread evenly over the top.

Bake 45 to 55 minutes until golden, bubbling, and just starting to crisp on top. Let it rest for 10 minutes before serving.

This is the kind of meal that makes staying in feel like the right decision. Simple, satisfying, and exactly what a Sunday should taste like.

Baked Acorn Squash Bisque: A Cozy Fall Favorite from Martha Stewart

Baked Acorn Squash Bisque: A Cozy Fall Favorite from Martha Stewart

As the cooler months roll in, there’s nothing quite like a warm, creamy bisque to bring comfort and flavor to your table. One of my all-time favorites is Martha Stewart’s Baked Acorn Squash Bisque. This soup is a perfect blend of roasted acorn squash, savory broth, and a touch of cream that creates a velvety texture with a rich, slightly sweet taste. Whether you’re preparing for a holiday dinner or just looking to enjoy the flavors of fall, this bisque is sure to please!

Ingredients:

2 acorn squashes, halved and seeded

1 tablespoon unsalted butter

1 small onion, chopped

1 teaspoon fresh thyme leaves

4 garlic clove, minced

1/4 teaspoon ground cinnamon

1/4 teaspoon ground nutmeg

4 cups low-sodium chicken or vegetable broth

1/2 cup heavy cream

Salt and pepper, to taste

Fresh thyme sprigs, for garnish

1. Prepare the Acorn Squash

Preheat your oven to 400°F. Place the halved acorn squashes on a baking sheet, cut side down. Roast them in the oven for about 45 minutes or until the flesh is tender and easily scooped out with a spoon. Once roasted, allow the squash to cool slightly, then scoop out the flesh and set it aside.

2. Sauté the Aromatics

In a large pot, melt the butter over medium heat. Add the chopped onion and cook until softened, about 5-7 minutes. Add the garlic, fresh thyme, cinnamon, and nutmeg, stirring for another minute to release the flavors.

3. Simmer the Squash and Broth

Add the roasted acorn squash to the pot along with the broth. Bring the mixture to a boil, then reduce the heat and let it simmer for about 15 minutes. This helps all the flavors blend beautifully.

4. Blend to Perfection

Using an immersion blender (or transferring the mixture in batches to a blender), carefully blend the soup until smooth and creamy. Once blended, return the soup to low heat.

5. Finish with Cream

Stir in the heavy cream, and season the soup with salt and pepper to taste. Let the bisque heat through for another 5 minutes, allowing the flavors to meld together.

6. Serve and Enjoy

Ladle the bisque into bowls, garnish with fresh thyme sprigs, and serve warm. The bisque pairs perfectly with crusty bread or a light salad.

This Baked Acorn Squash Bisque is a surefire way to celebrate fall’s harvest and impress your guests with its rich, comforting flavors. Whether you’re hosting a dinner party or just want to savor a cozy bowl of soup, this Martha Stewart recipe is bound to become a seasonal favorite!

Herb-Crusted Rack of Lamb: A Perfect Pairing with Baked Carrots

Herb-Crusted Rack of Lamb: A Perfect Pairing with Baked Carrots

For a truly special meal, this Herb-Crusted Rack of Lamb is a showstopper. Rich, savory, and bursting with flavor, it pairs beautifully with the natural sweetness of baked carrots. This dish combines fresh herbs with tender lamb, creating a perfect balance that’s sure to impress at your next dinner.
Ingredients:

  • 1 rack of lamb (8 ribs, trimmed)
  • 3 cloves garlic, minced
  • 2 tbsp fresh rosemary, chopped
  • 2 tbsp fresh thyme, chopped
  • 2 tbsp olive oil
  • Salt and pepper to taste

Instructions:

  • Prep the lamb: Preheat the oven to 400°F. Season the lamb generously with salt and pepper.
  • Herb crust: Mix garlic, rosemary, thyme, and olive oil in a small bowl to create a herb paste.
  • Sear the lamb: Heat a pan over medium-high heat. Sear the lamb on all sides until browned (about 3-4 minutes per side).
  • Roast: Spread the herb mixture evenly over the lamb. Transfer the lamb to a roasting pan and roast for 15-20 minutes or until the internal temperature reaches 135°F for medium-rare.
  • Rest and serve: Let the lamb rest for 5-10 minutes before slicing.

Roasted Carrots with Garlic and Herbs

As long as you have the garlic, rosemary and thyme out, here is a fantastic side that pairs well and really
highlights the natural sweetness of carrots, complemented by the savory depth of garlic and herbs. I made them last night and they were wonderful, Dingo even really enjoyed them wich was very odd… HAHA!

Ingredients:

  • 1 pound fresh carrots, peeled and cut into sticks
  • 4-5 garlic cloves, minced
  • 2 tablespoons olive oil
  • 1 teaspoon fresh thyme (or ½ teaspoon dried thyme)
  • 1 teaspoon fresh rosemary (or ½ teaspoon dried rosemary)
  • Salt and freshly ground black pepper, to taste
  • 1 tablespoon fresh parsley, chopped (optional)
  • 1 tablespoon lemon juice (optional)

Instructions:

1. Preheat the Oven: Preheat your oven to 400°F (200°C).

2. Prepare the Carrots: Place the carrot sticks on a baking sheet in a single layer.

3. Add Garlic and Herbs: In a small bowl, mix the olive oil, minced garlic, thyme, and rosemary. Drizzle the mixture over the carrots, ensuring they’re well coated.

4. Season: Sprinkle salt and pepper over the carrots to taste.

5. Roast: Roast the carrots in the preheated oven for 20-25 minutes, or until they are tender and slightly caramelized. Toss halfway through to ensure even cooking.

6. Garnish: Once roasted, remove the carrots from the oven. If you like, sprinkle them with chopped parsley and a squeeze of fresh lemon juice for a bit of brightness.

Serve: Enjoy these flavorful roasted carrots as a side dish to your favorite meal, or toss them into a salad for added crunch and flavor!

Bacon & Chive Potato Salad

Bacon & Chive Potato Salad

This past week, I had the pleasure of making a Creamy Bacon & Chive Potato Salad that quickly became one of the best potato salads I’ve ever tasted. Growing up, my mother’s mustard-based potato salad was the gold standard in our household; its tangy flavor was unmatched, and it was a staple at every family gathering. Then there was my grandma’s German potato salad, a warm, vinegary delight that had a legendary status. However, this creamy creation might just be the one that tops them all.

A New Take on Tradition

Potato salad is a dish steeped in tradition, with each family having their own unique spin on it. It’s the kind of easy dish that’s perfect for any occasion whether it’s a summer barbecue, a potluck, or just a simple family dinner.
What makes this potato salad special is the balance of flavors and textures. The creamy dressing clings to tender potato slices, while crispy bacon adds a satisfying crunch. The chives bring a fresh, slightly oniony bite that cuts through the richness, making each forkful a delightful experience.

The Process: Worth Every Step

Making this potato salad does involve several steps, and while it takes some time, the result is well worth the effort. The key is to allow the potato slices to cool to room temperature before mixing them with the dressing. I like to speed up this process by placing the potatoes in the fridge after cooking them. This not only saves time but also ensures that the potatoes are firm enough to hold up in the salad without becoming mushy.

The Recipe: Creamy Bacon & Chive Potato Salad

Ingredients:

    • 2 pounds of small red or Yukon Gold potatoes
    • 4 or 5 hard boiled eggs
    • 1/2 pound of bacon, cooked until crispy and crumbled
    • 1/2 red onion, finely chopped
    • 1 cup mayonnaise
    • 3/4 cup sour cream
    • 1 heaping tablespoon Dijon mustard
    • 1 tablespoons apple cider vinegar
    • 1/4 cup fresh chives, finely chopped (maybe a little more)
    • 1/4 cup fresh parsley, finely chopped
    • Salt and pepper to taste

Instructions:

Hard boil, peal and chop 3 eggs, cook the bacon, and set both aside.

1. Cook the Potatoes: Cut the potatoes in half, then in quarter inch slices. Place them in a large pot of boiling water and cook them for about 7 to 10 minutes, you want them tender but still firm. You should be able to pierce them with a fork easily, but they shouldn’t fall apart.

2. Cool the Potatoes: Once the potatoes are cooked, drain them (but don’t rinse) and allow them to cool to room temperature. To speed up the cooling process, you can place the potatoes in the refrigerator for about 30 minutes.

3. Prepare the Dressing: While the potatoes are cooling, make the dressing. In a large bowl, combine the mayonnaise, sour cream, Dijon mustard, apple cider vinegar, parsley and chives. Reserve a small amount of chives for topping (bacon too). Whisk until smooth and well combined. Season with salt and pepper to taste.

4. Assemble the Salad: Once the potatoes are cool, add the bacon, egg, red onion and give it a toss, then add the dressing. Gently fold the potatoes, red onion, eggs and bacon into the dressing until they are well coated. Mix everything together gently.

5. Chill: Transfer the potato salad to a serving dish and garnish with the reserved bacon and chives. For best results, cover and refrigerate the salad for at least 1 hour before serving to allow the flavors to meld together. Actually, it’s excellent the next day, make a day ahead of time and chill overnight for maximum wow factor.
6. Enjoy: Serve and enjoy.

A Family Favorite in the Making

As someone who grew up with two exceptional potato salad recipes, it’s not easy for a new version to claim the title of “best.” However, this Creamy Bacon & Chive Potato Salad is truly something special. Whether you’re a fan of traditional mustard-based salads or prefer something with a tangy kick, this recipe is sure to become a favorite in your household.

Next time you’re looking for a side dish that will steal the show, give this recipe a try. It might just become your new go-to potato salad, and you’ll find yourself making it again and again. #kevininthekitchen


Creamy Crab and Shrimp Seafood Bisque

Creamy Crab and Shrimp Seafood Bisque

Ingredients:

1/2 pound shrimp, peeled and deveined
1/2 pound crab meat, preferably lump
2 tablespoons butter
1 onion, finely chopped
1 carrot, finely diced
2 stalks celery, finely diced
3 cloves garlic, minced
1/4 cup tomato paste
3 cups seafood or fish broth
1 cup heavy cream
1 teaspoon paprika
1 teaspoon dried thyme
Salt and pepper to taste
Fresh parsley, chopped, for garnish
2 tablespoons all-purpose flour

Directions:

Prepare the Seafood:
Cook the shrimp in a pot of boiling water for 2 or 3 minutes until they are pink and opaque. Remove, cool, and chop roughly. Set aside.

Sauté Vegetables:
In a large pot, melt butter over medium heat. Add onion, carrot, celery, and garlic. Cook until the vegetables are softened, about 5-7 minutes.

Add Flavor Base:
Stir in tomato paste, paprika, and thyme. Cook for another 2 minutes.

Make the Bisque:
Sprinkle flour over the vegetables and stir to combine. Gradually add seafood broth, stirring continuously to prevent lumps. Bring the mixture to a simmer, then reduce heat and let simmer gently for 20 minutes.

Add Seafood and Cream:
Add the chopped shrimp and crab meat to the pot. Pour in the heavy cream and stir to combine. Cook for an additional 5 minutes, or until everything is heated through. Adjust seasoning with salt and pepper.

Serve:
Ladle the bisque into bowls and garnish with chopped parsley, maybe some good bread and enjoy!

#kevininthekitchen